
I just googled a bit on the internet to find out how these little hair accessories are made, and I got started right away! This is the first sentence I found
Lees hier verder in het Nederlands.
Cut out a rectangle of fabric measuring about 3.5 inches (9cm) by 14 inches (36cm), or 2-3 times longer than your elastic. The length of the rectangle will affect how much the fabric is gathered in the final piece, so if you want a ruffler scrunchie, make the rectangle longer.
With this sentence I started to design a few crocheted scrunchies I like to wear. This information is enough to start. It just comes down to finding a nice stitch to crochet lovely scrunchies. The stitches that make the most beautiful for these hair bands should be dense stitches. There are certainly a number of stitches eligible for this, the simplest is of course the single crochet.
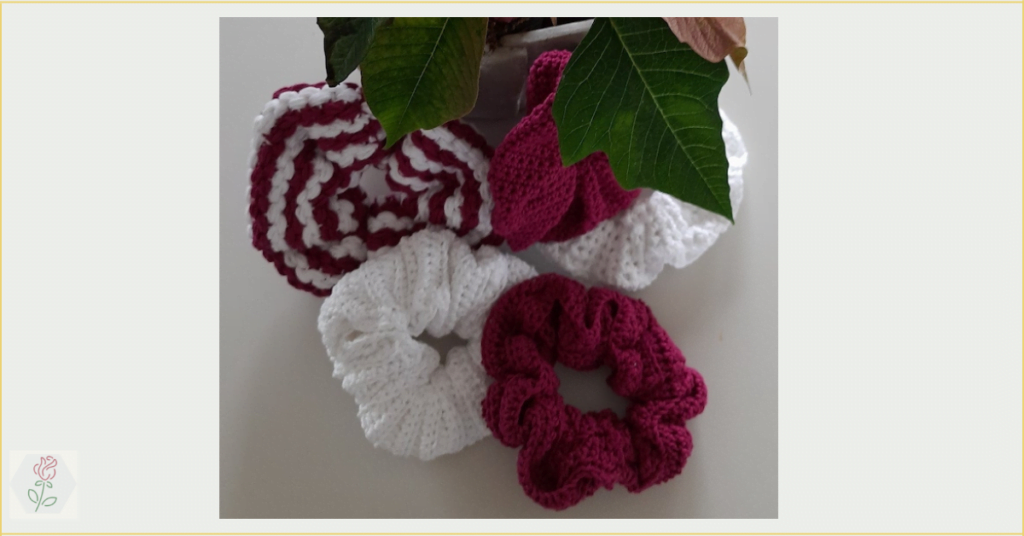
I made 5 examples myself and I will start with the simplest for beginning crocheters. But actually all scrunchies are not that difficult to crochet, the first 4 can even be made in one day, for the last, the two colored one, I needed two days.
The following patterns are written using US terminology.
I made all 5 of them with light cotton. I have chosen this type of cotton because it is very easy to was, at 40 degrees.
Material
Gauge
You can use the gauge as I used for my original snowmen.
1. Scrunchie with single crochets

The photos below show how you can finish this scrunchie in an easy way. Just follow these steps to crochet your first scrunchie! Every picture is explained step by step.
Step 1 : Start with a chain of 23 chains chain stitches. And then we crochet another chain stitch and turn. This extra chain stitch counts as the first single crochet. Turn and start crocheting the second single crochet into the third chain stitch. Continue until you reach 36cm (or wider, but no more than 52cm).
Step 2 : After crocheting the rectangle, crochet the long sides together, I prefer this over sewing.
Step 3: The tube is turned inside out after hooking it shut.
Step 4: Then cut an elastic of 18 cm or longer as you wish, maximum 25 cm. I never make it longer.
Step 5: Put one end of the elastic on the tube with a safety pin.
Step 6: Afterwards put the elastic through the tube
Step 7: Knot the two ends of the elastic together. Now it is time to sew the two ends of the tube together. Hide the elastic into the tube while sewing!
step 1 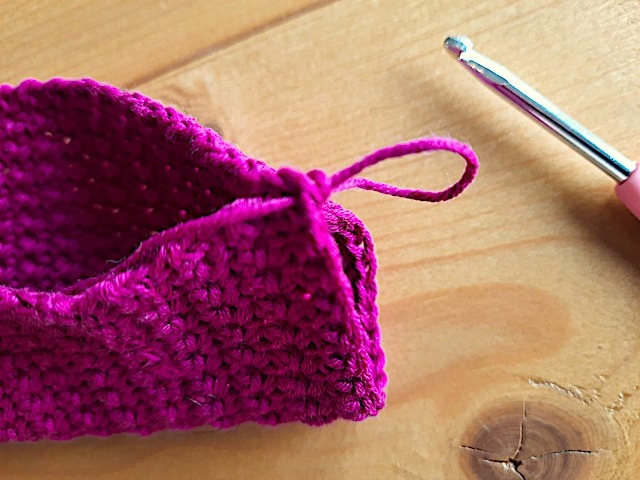
step 2 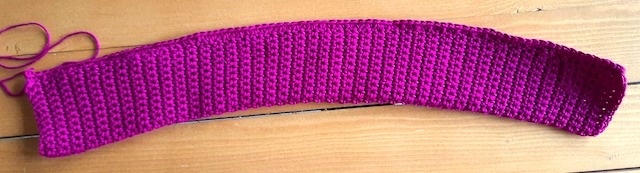
after step 2 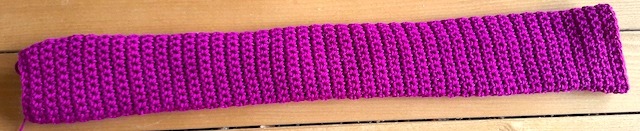
step 3 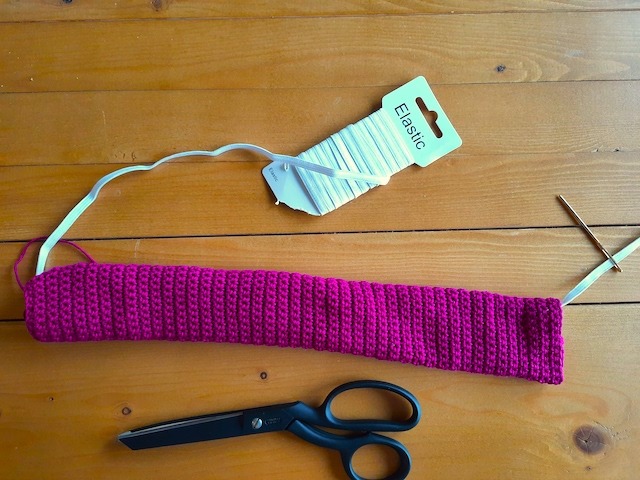
step 4 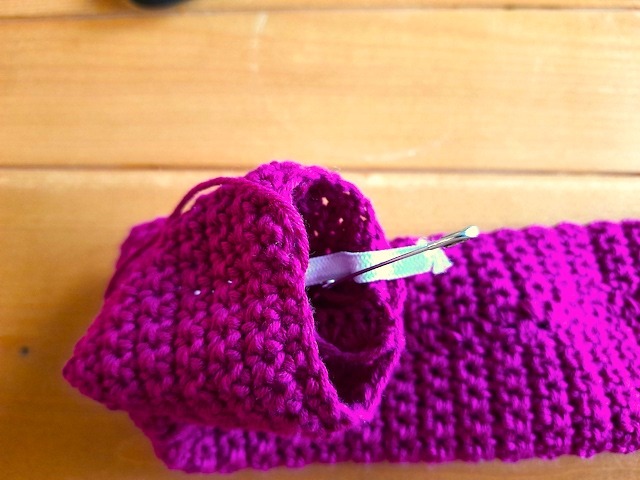
step 4 
step 6
2. Scrunchie with a rib stitch with half double crochets, long rows
For this scrunchie we crochet the piece from the widest side, the length of the tube will be approx. 52 cm. The elastic is also a bit longer, I took 25 cm, it is the maximum I think, but of course you can always adjust the length according to your own choice.
I made the rectangle of this scrunchie a bit longer than the first to show what the difference can be if you tinker with the dimensions. For example, the inner ring is slightly larger due to the longer length of the rectangle.
The stitch I used here, is a rib stitch. The one I also used for the Parisian beret. This stitch is a simple half double crochet, but you have to take the back loop of the half double crochet of the previous row.
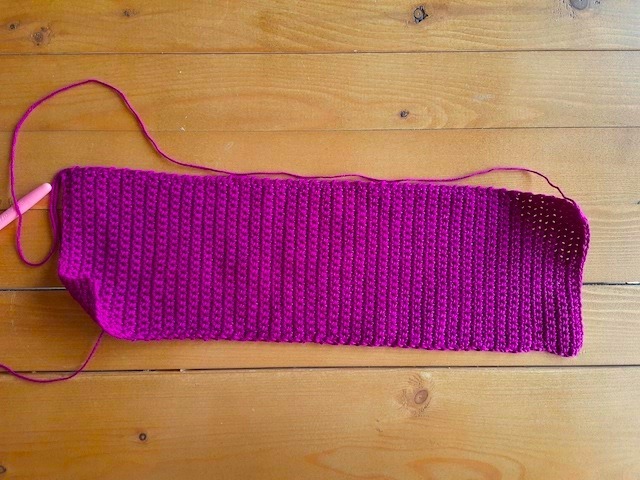
After saying all this, we can start with the second scrunchie. Start with a chain of 110 chain stitches. The first row you crochet normal half double crochets. Then work 11 rows with half double crochets in the back loop. The width of the rectangle should be about 7 cm, the length 52 cm.
I also took some pictures of this example while making the scrunchie. This also makes it easier to follow how you finish the scrunchy.
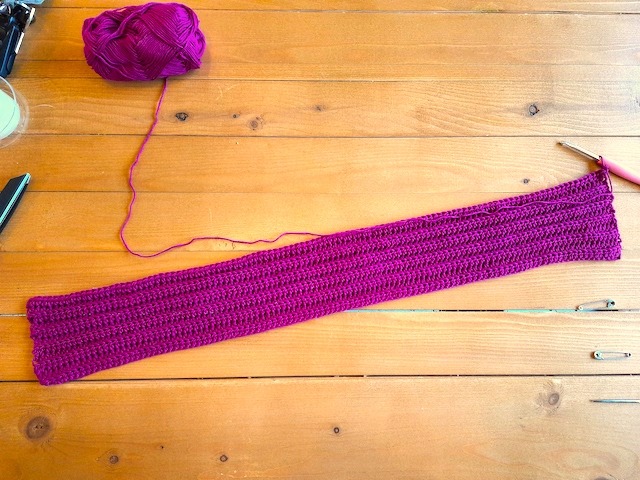
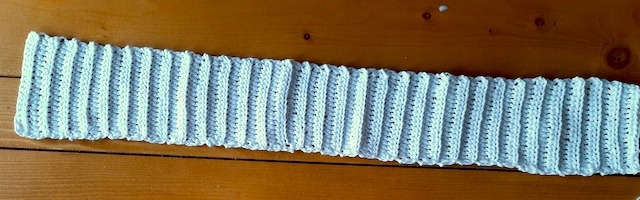
crochet a rectangle (52 x 7 cm) 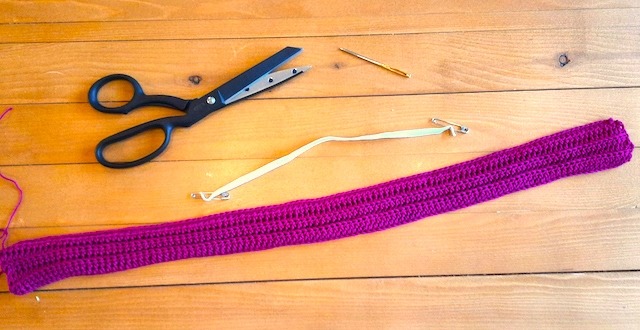
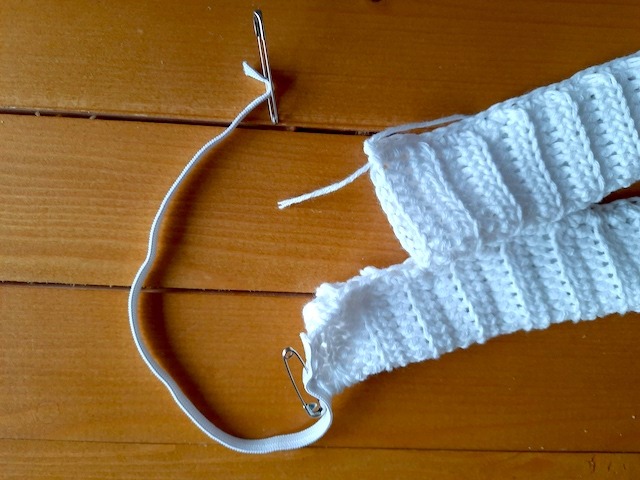
gather scissors, safety pin, tapestry needle, elastic 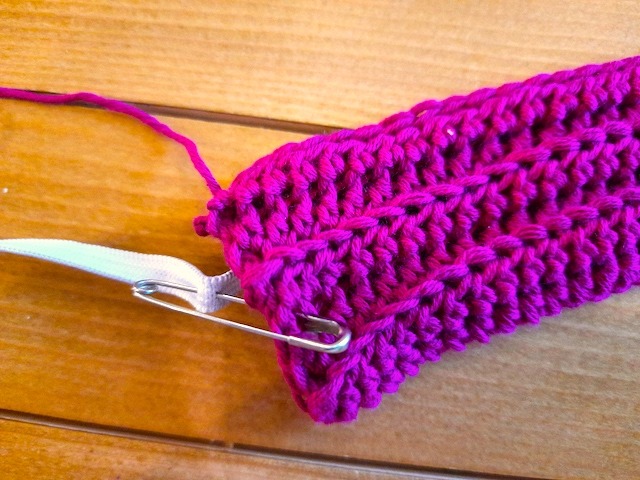
attach a security pin 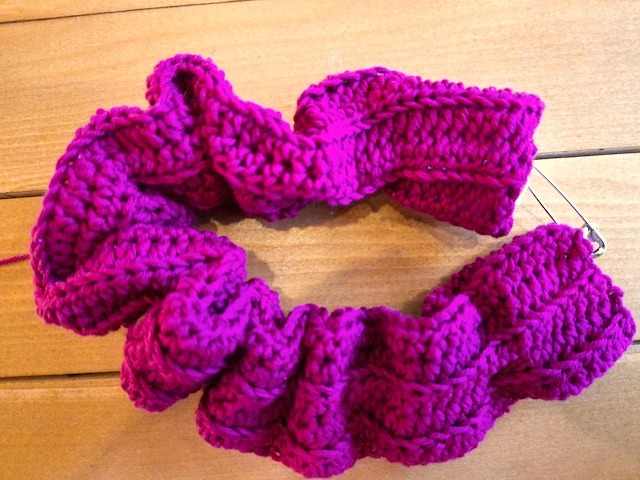
pull together 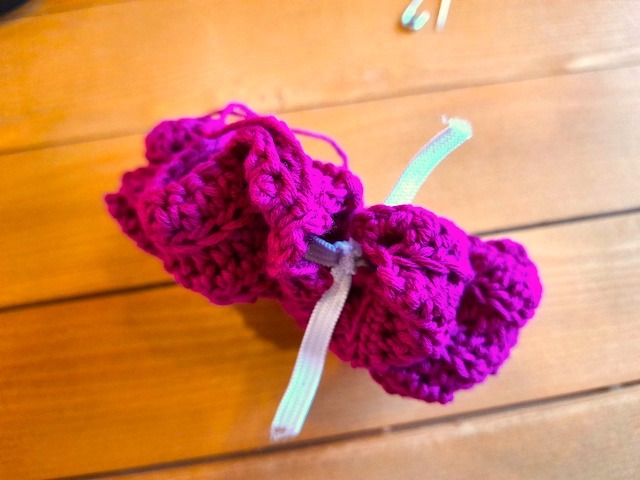
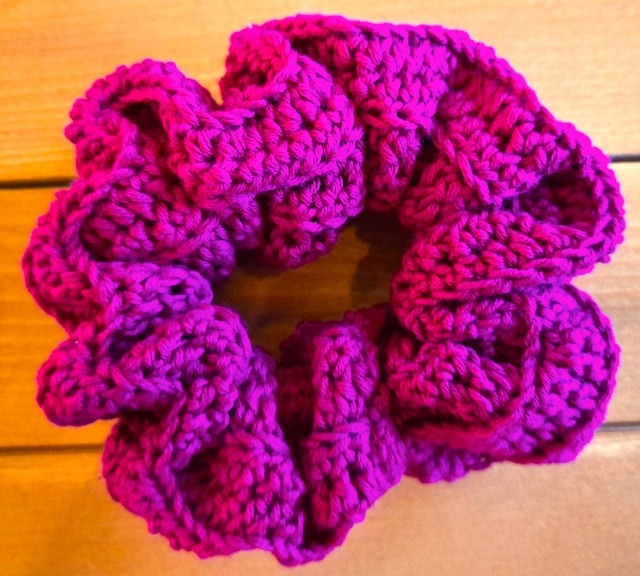
make a good knot finalized scrunchie
3. Scrunchie with a rib stitch with half double crochets, short rows
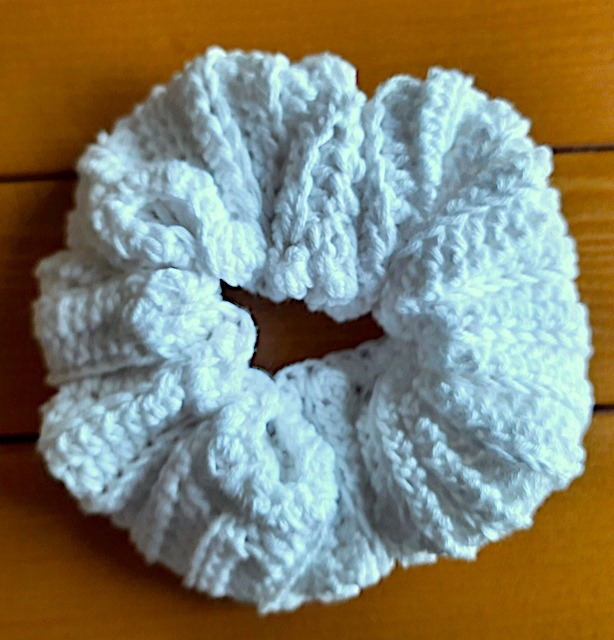
As you can see, I used exactly the same stitch for this scrunchie as I used for the previous scrunchy. The only difference is that I worked short rows here, so in width. It now looks more like the brim of a hat.
Start with 20 chain stitches and crochet to 52 cm. In the pictures below you can also see some detailed pictures of how I finished the scrunchy, but for a more detailed explanation I refer to the first scrunchie.
4. Scrunchie with a experimental triple double crochet stitch
For this scrunchie I tried out a less dense stitch. It is certainly not a difficult one. Probably this stitch has a name, but I couldn’t find it. Please let me know if you know it! 
How to crochet this stitch
The stitch is based on a double crochet.
Insert the needle into the previous stitch of the previous round. (Photo 1). Yarn over and pull through the retrieved stitch. Now insert the crochet hook into the next stitch of the previous row. (photo 2). Yarn over and pull the thread through. (photo 3 and 4). Yarn over again and then pull the needle through 4 loops. (photo 5 and 6). The result should be like in photo 7.

1 
2 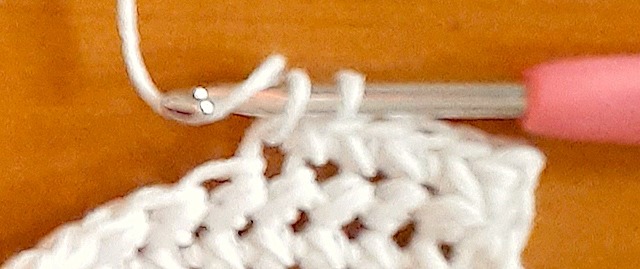
3 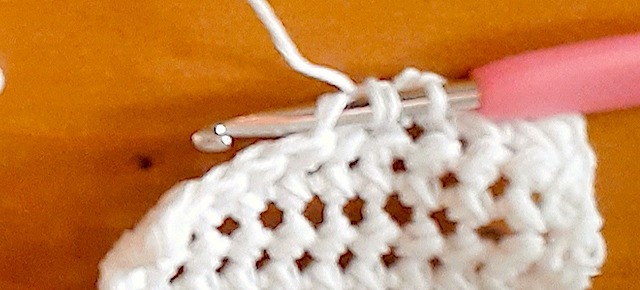
4 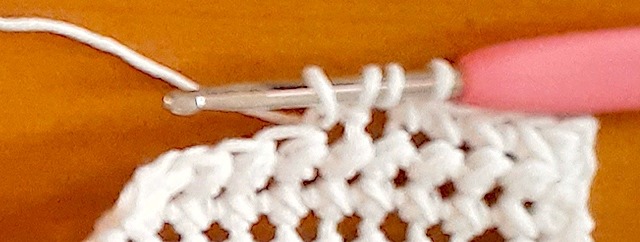
5 
6 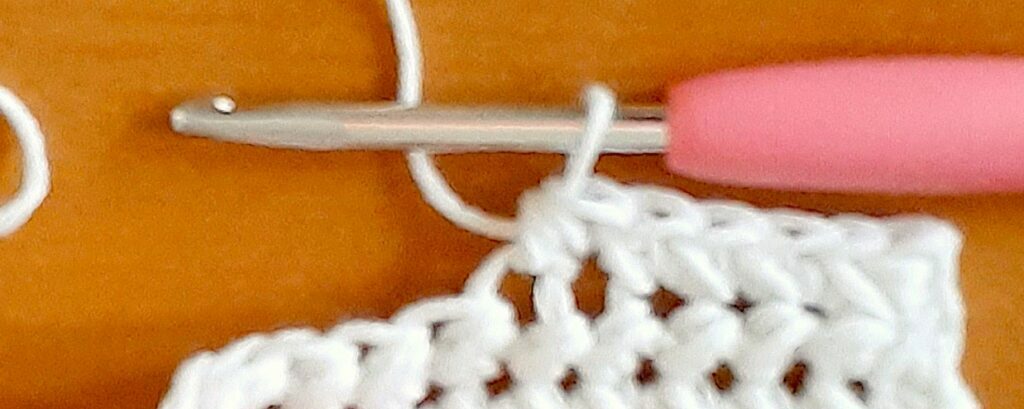
7
Crocheting the scrunchie
Start with 20 chain stitches. Work 2 extra chain stitches as the first stitch of the row. For the first special stitch, insert the crochet hook into the second chain stitch that counts as the previous stitch. Now work 72 rounds with this stitch, the length should be approx. 52cm.
Here too I took some pictures of how I finished the scrunchy. For a more detailed explanation, check out the first scrunchy here too. But here I have a tip, because the rectangle is a bit longer, it is easier to use a second safety pin. Secure the second pin to the other end of the elastic. This makes it easier to get the elastic through the tube.
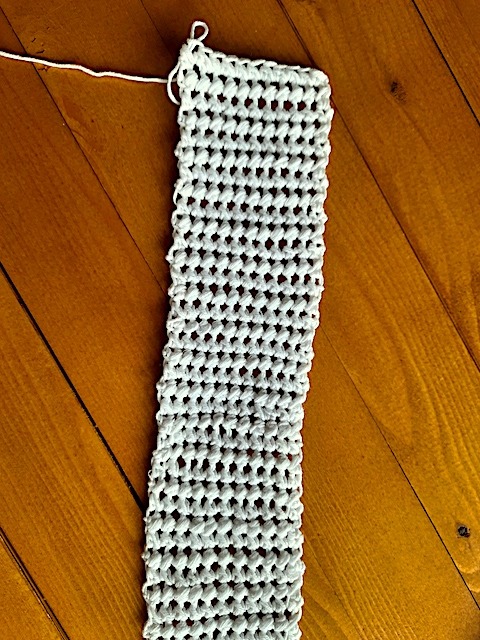
crocheted rectangle 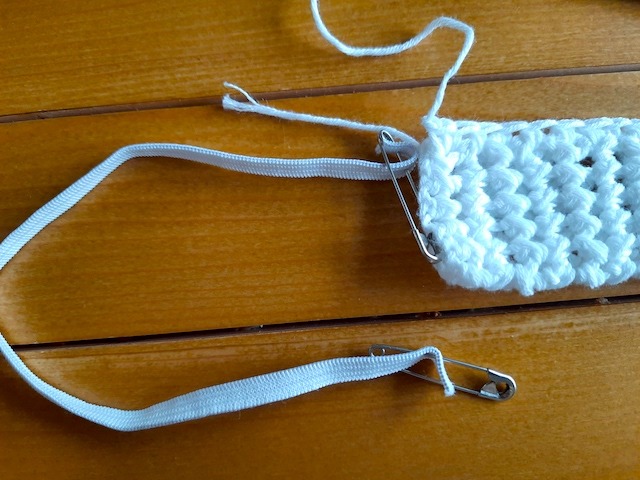
elastic with safety pins 
pull the elastic through 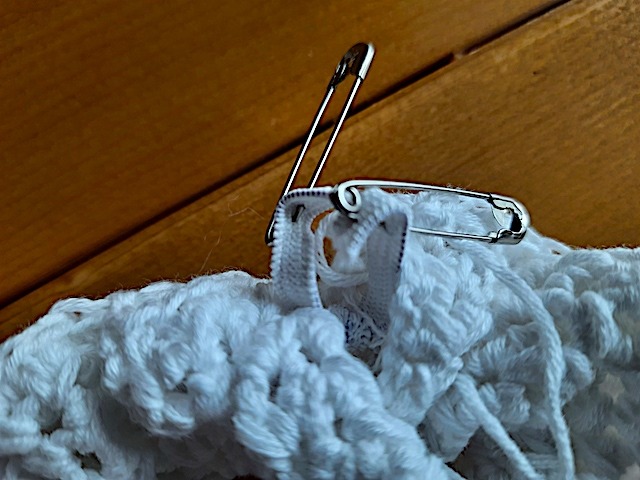
knot the ends of the elastic together 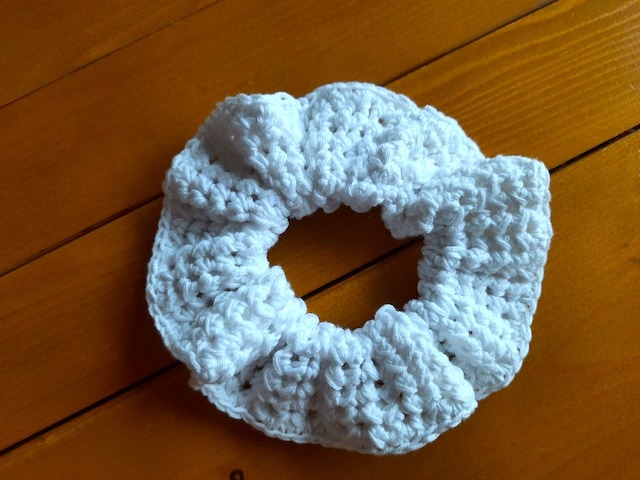
finished scrunchie
5. Scrunchie with a puff stitch, two colors

And now the last scrunchy. It took me two days to crochet and finish this one.
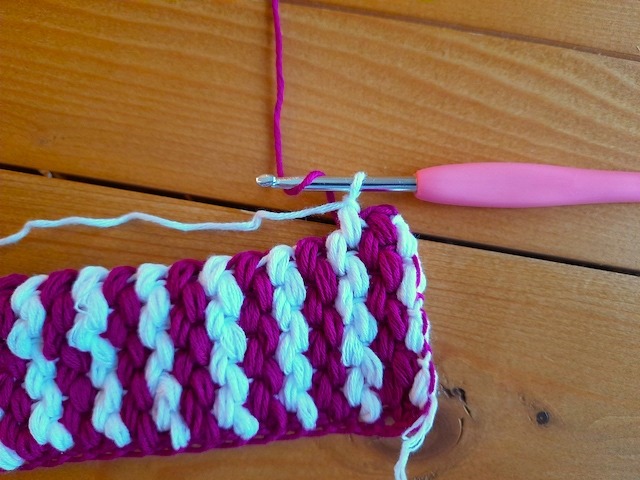
In one of my previous posts I already explained how a puff stitch is crocheted. Read this post if you want to learn it. The most tricky point is how to change the color. The pictures show how you can do this so you don’t see the yarn change!
Picture tutorial of how to change a color with the puff stitch
step 1 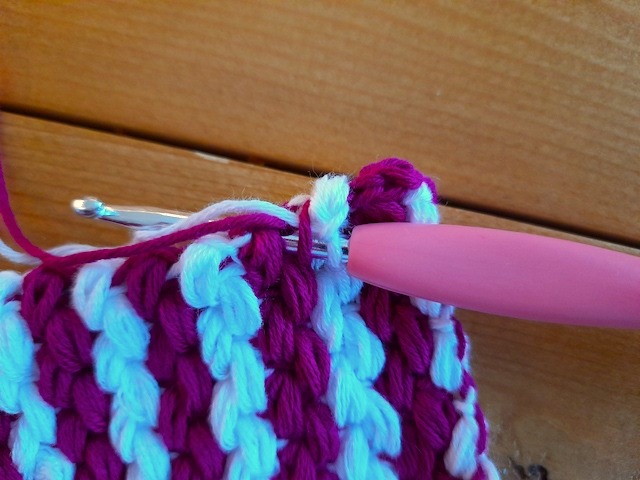
step 2 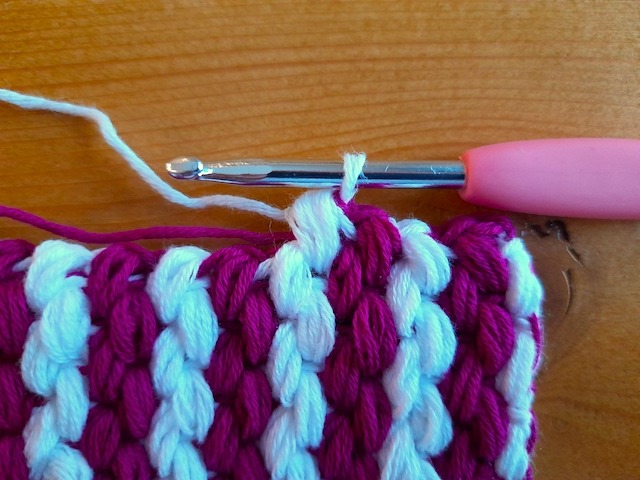
step 3 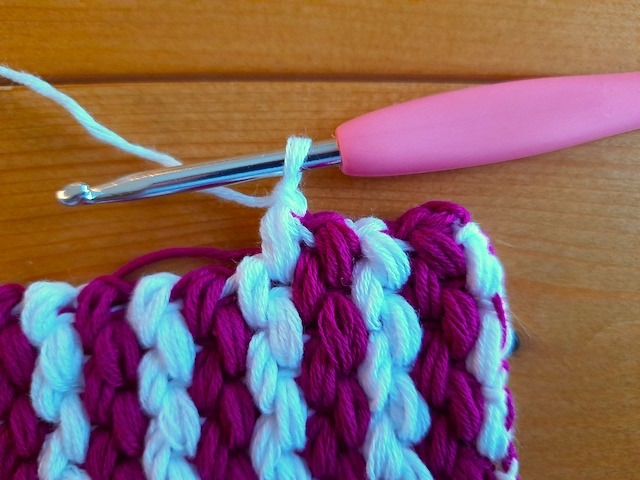
step 4 
step 5 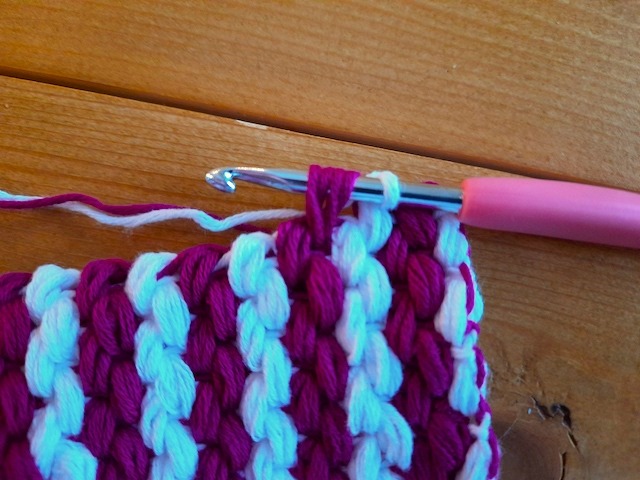
step 6 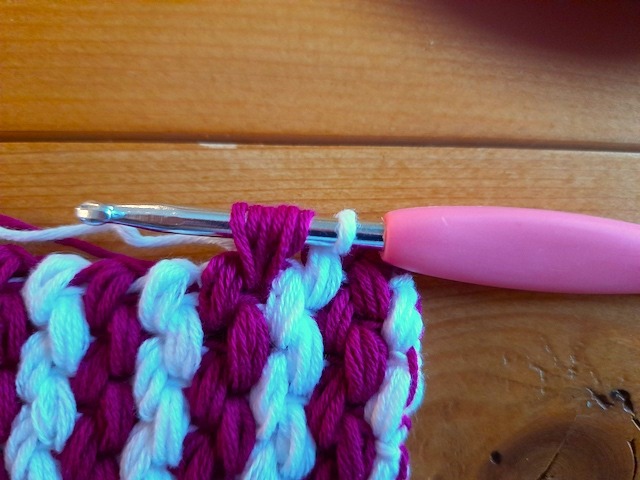
step 7 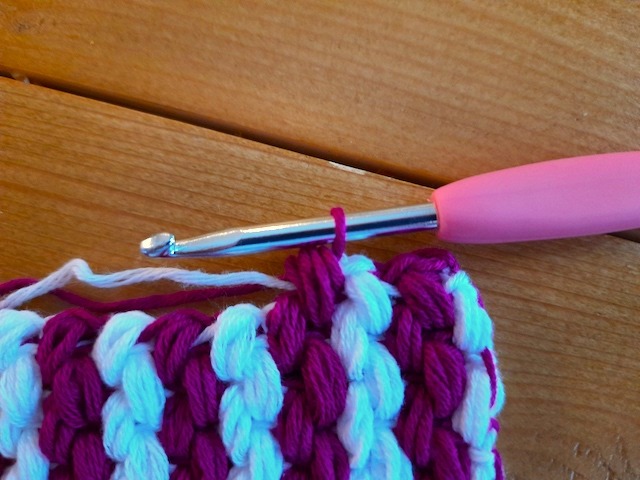
step 8 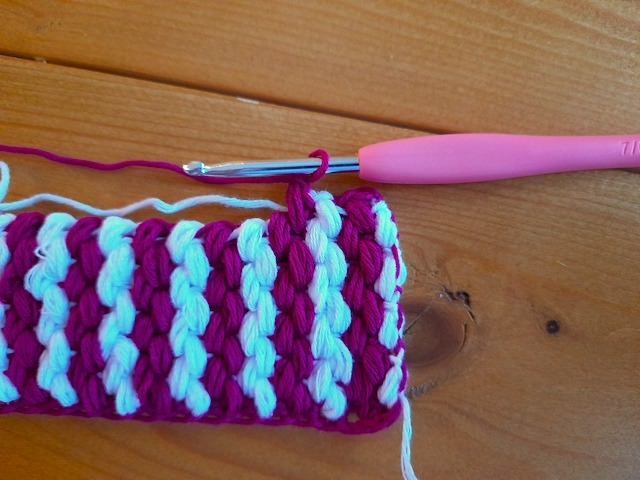
step 9 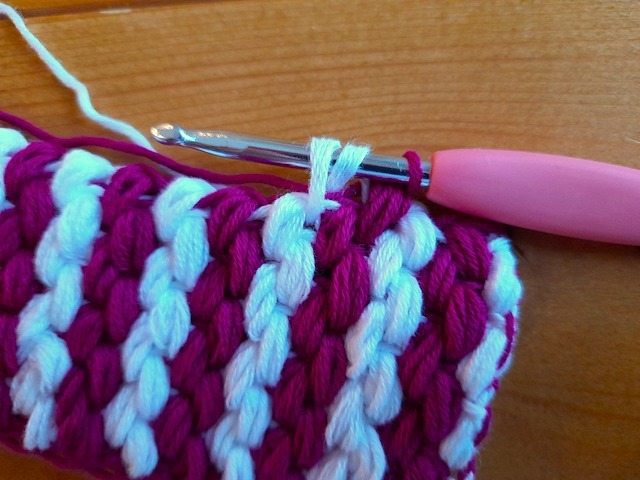
step 10
How this last scrunchie is made
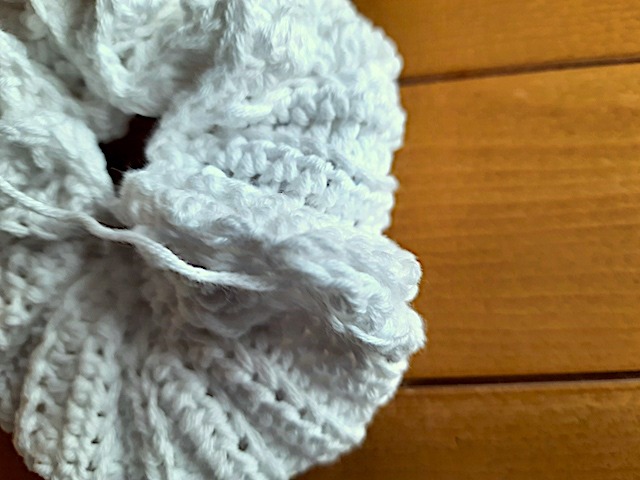
I also took some pictures for this one. But of course it is the same again. Only with this one the rectangle is a bit firmer and this makes it a bit more difficult to pull the elastic through the tube. I also didn’t crochet the rectangle that long, 48 cm. To pull the elastic through I used the two safety pin trick, but I also used a tapestry needle to get the elastic through even better. This was necessary, because the tube is less slack than the previous ones. I did not reverse the tube either. (I only did it on the first one actually  .) When you pull the elastic together, just make sure that the hook side is at the bottom of the scrunchy, so you won’t see the less beautiful collar in the finished scrunchy.
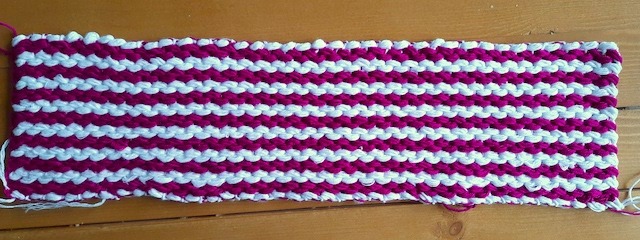
crocheted rectangle 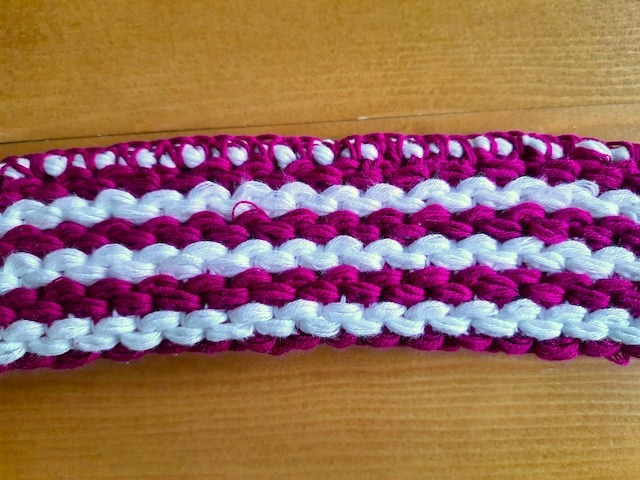
tube crocheted together 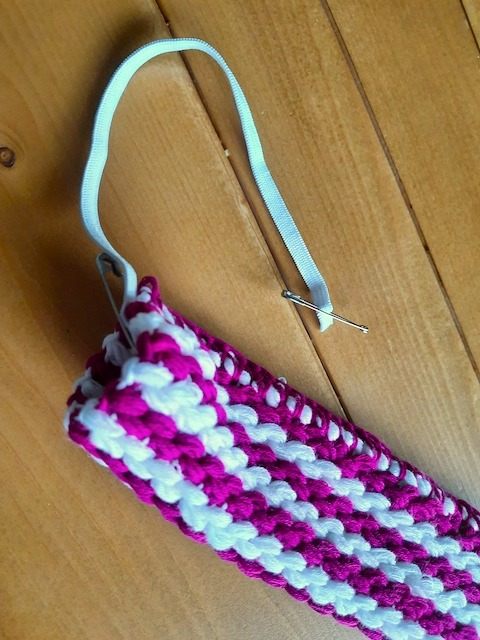
preparation to pull the rubber band through the tube 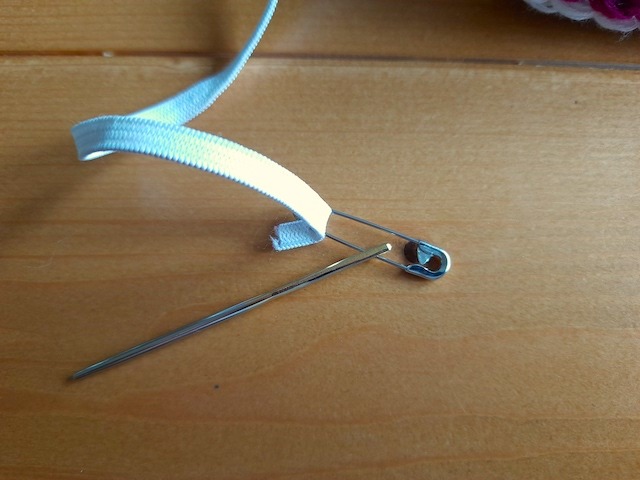
extra tip to pull 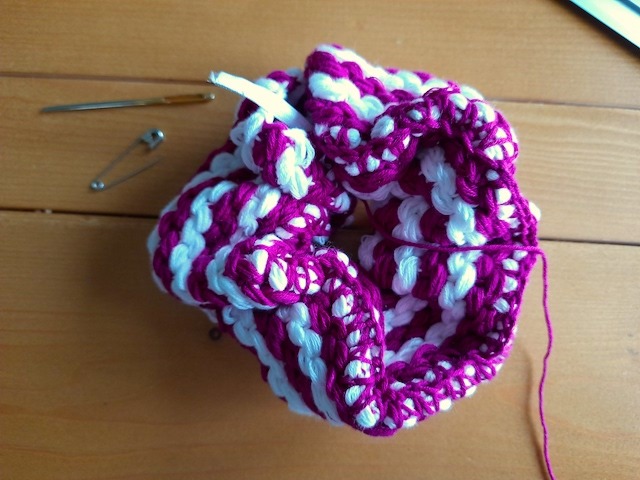
the knot 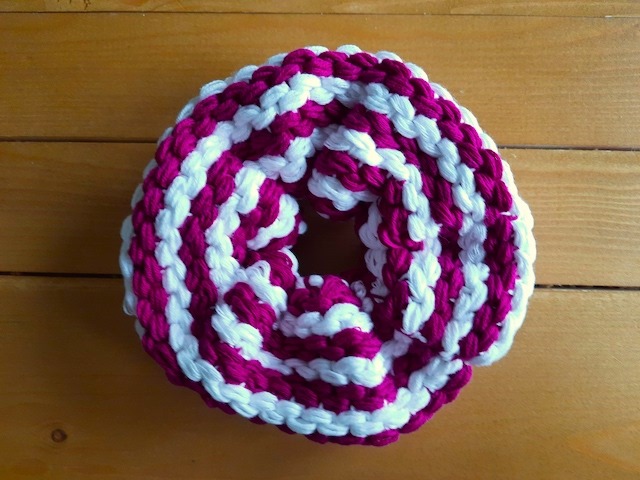
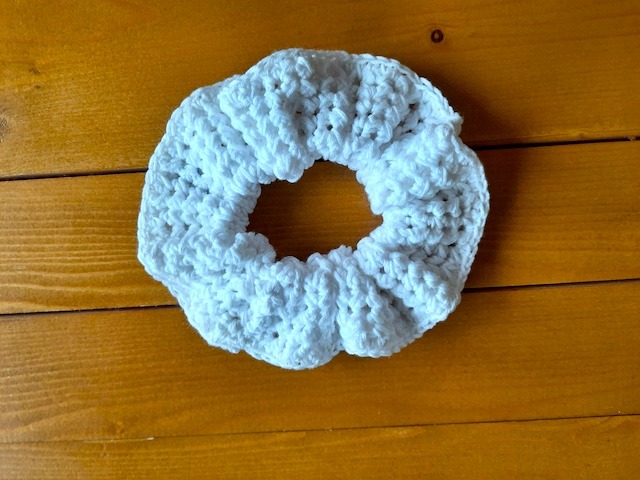
finilized scrunchie
So I hope you enjoy crocheting these scrunchies! My daughter too is very happy with them!
Happy crocheting!
xox Greet