
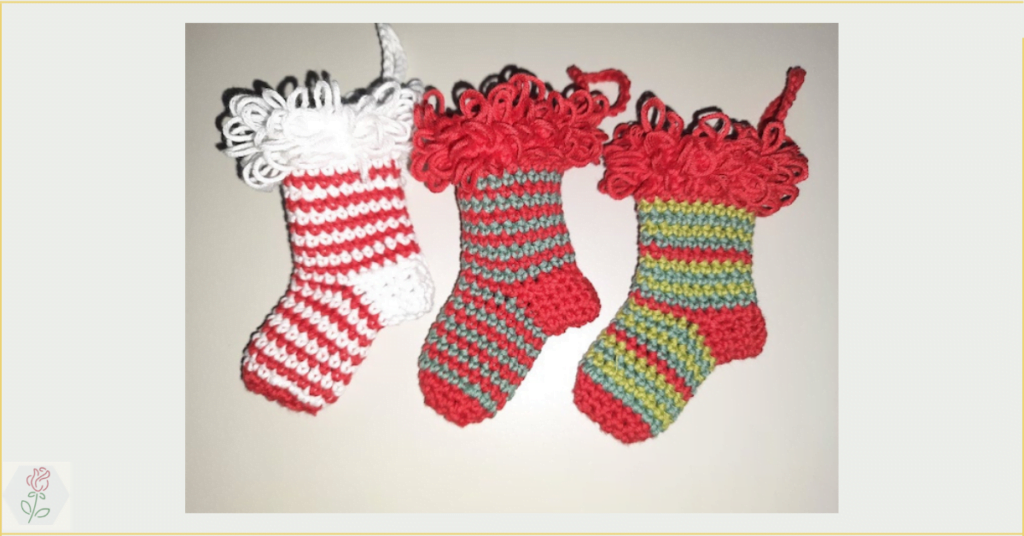
Christmas is coming soon again. Nice to get back to design an ornament like every year. This year I opted to crochet little Christmas stockings. I’m going to hang some in the tree. I’m also going to create a garland with them. That last one is what I’m going to do for my mom too. She is one of my biggest fans. She is now in a home and such a garland will brighten up her room again along with the stars and snowmen from previous years!
Lees hier verder in het Nederlands.
You can get the Crochet pattern for little Christmas stockings on Ravelry or Etsy.
Material
- hook nr 3 mm (see conversion table for other metrics)
- Drops Safran: used red, white, sage green, apple green, black, but of course you can also use other colours to crochet the socks for other events such as a birth.

Stitches (US-terms)
- chain (ch)
- single crochet (sc)
- slip stitch (sl st)
- single crochet loop stitch
The single crochet loop stitch explained
 | Step 1 We start with the 1st sc. Wrap the thread around your finger twice. |
| Step 2 Insert the crochet pin under the 1st wrap of your finger. |  |
 | Step 3 Pull the yarn through the stitch from the previous round. We’re actually just crocheting a regular sc. |
| Step 4 When the thread is pulled through, you still have 1 loop on your finger and the thread itself. | 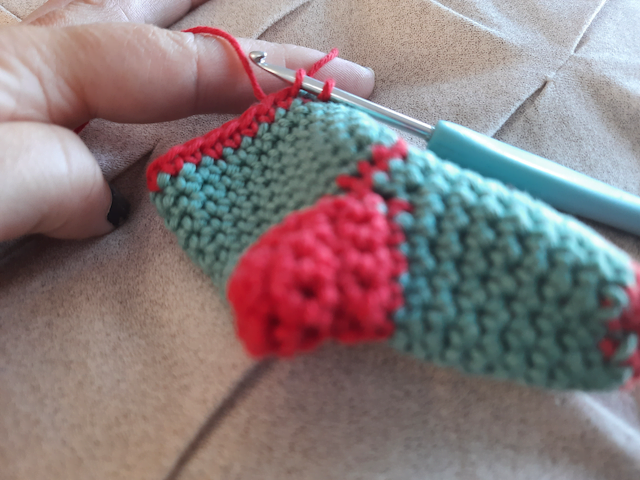 |
 | Step 5 Pull the loose thread through the two loops around the hook. We actually just continue the single crochet, only a loop remains around your fingers. |
| Step 6 The single crochet is worked and the first loop is still around the finger. |  |
 | Step 7 Pull your finger out of the loop, you will see the loop on the back. |
| Step 8 Put that loop along the front |  |
 | Step 9 We’ll start with the next single crochet loop stitch. Insert your hook into the next single crochet, over the loop. |
| Step 10 Twist the thread around your finger again 2 times. |  |
 | Step 11 Insert the crochet pin through the first yarn over again. |
| Step 12 Pull the thread through. |  |
 | Step 13 Continue the single crochet. |
| Step 14 Pull your finger out of the created loop. | 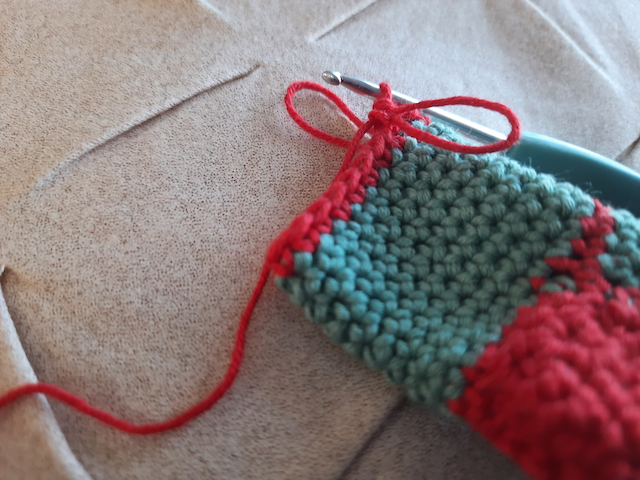 |
 | Step 15 Put that loop along the front |
| Step 16 Already worked 2 loops! |  |
Pattern
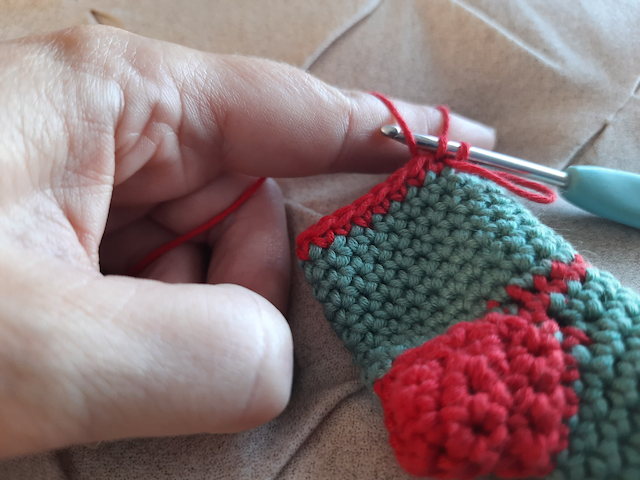
I made a photo tutorial of how to crochet this little Christmas stocking. The foto tutorial is made the same way as the one made to explain the sc loop st.
I also made 5 variations in a tabular form. This form now also includes an extra check-column. With this extra column you can keep better track of where you are. You find more if you purchase the pattern.
The pattern is available on Ravelry and Etsy!
Enjoy crocheting!
xox Greet


