Story
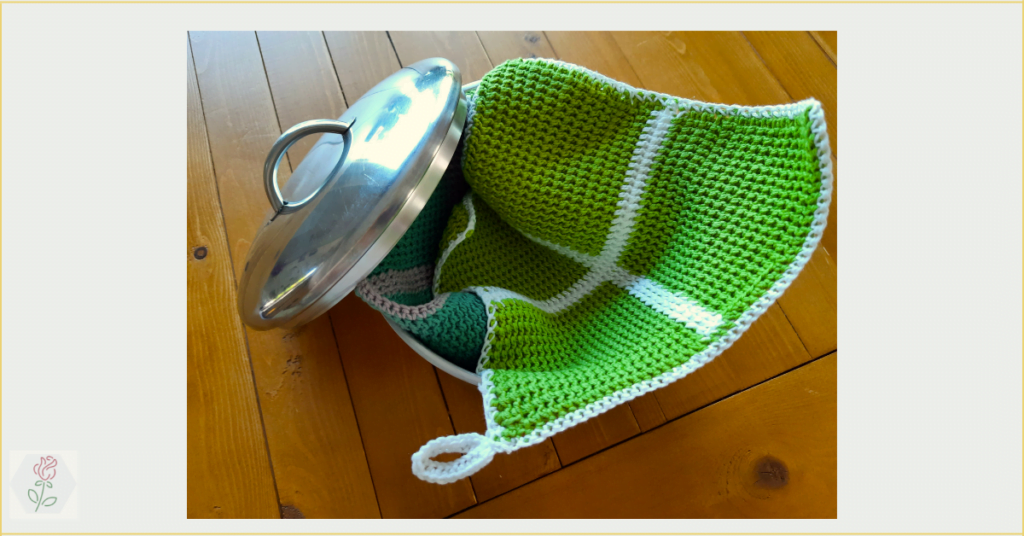
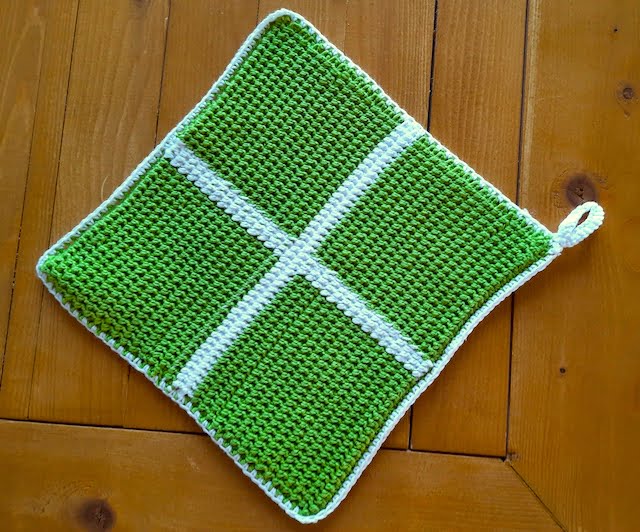
Almost the end of the school year. Have you thought of a gift for your kids’ teacher? It’s always fun to put something together yourself. Then why not get out your hooks again to crochet one of these potholders! The kids will be very proud to give the present to their hero!
Lees hier verder in het Nederlands.
Stitches used for both patterns
- chains
- single crochet
- half double crochet in the back loop
- skewed thermal half double crochet (explanation below)
The skewed thermal half double crochet explained
The thermal half double crochet is ideal for making the crochet work a bit thicker. It is therefore ideal for crocheting potholders, oven gloves and extra warm blankets. The thicker you take the thread, the thicker the crochet of course. For the potholders I just use a light cotton, but a thicker yarn of course gives an even more ‘thermal’ effect.
The skewed thermal half double crochet
As the name suggests, of course, the thermal half double crochet consists of a half double crochet. To start, first crochet a chain of for example 20 stitches. For the first row, crochet half double crochets. For the 2nd row work half double crochets in the back loop of the half double crochets from the previous row. For this I refer you to one of previous posts.
The next row then really starts with the skewed thermal half double crochets, it is, as it were, a combination of an ordinary half double crochet with a half double crochet in the back loop of the previous row. You pick up the last 2 loops of the half double crochet from the previous row together with the back loop of the underlying half double crochet. The pictures below make it clearer step by step.
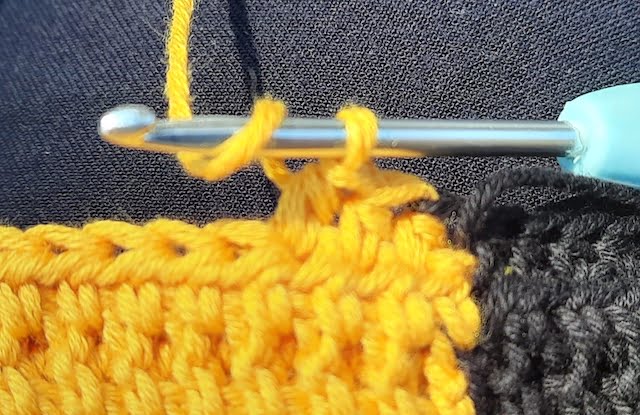
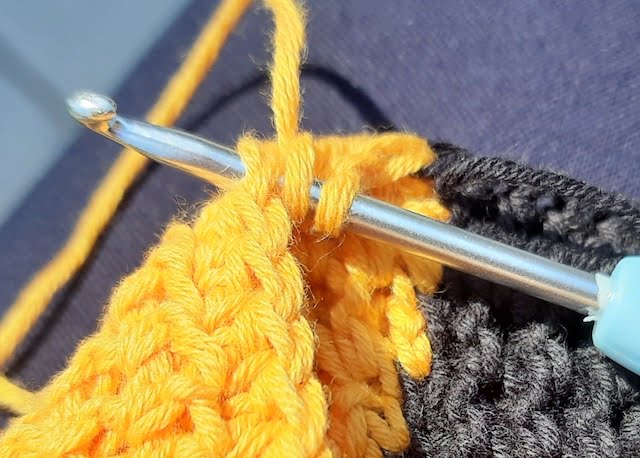
Start with a yarn over like a regular half double crochet
Insert the hook through the back loop of the half double crochet from the previous row, so that the front loop remains visible
Now fold the back forward. This makes the back loops visible.

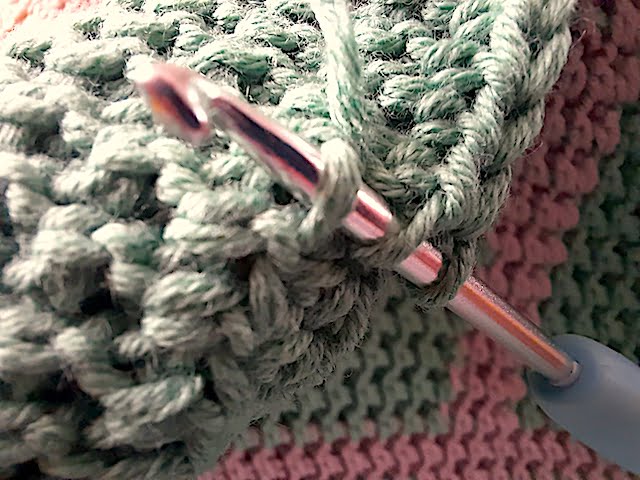
Insert the hook into the back loop that is diagonally in front of you. (*)
Yarn over and continue as if it were an ordinary half double crochet.
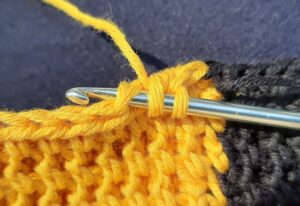
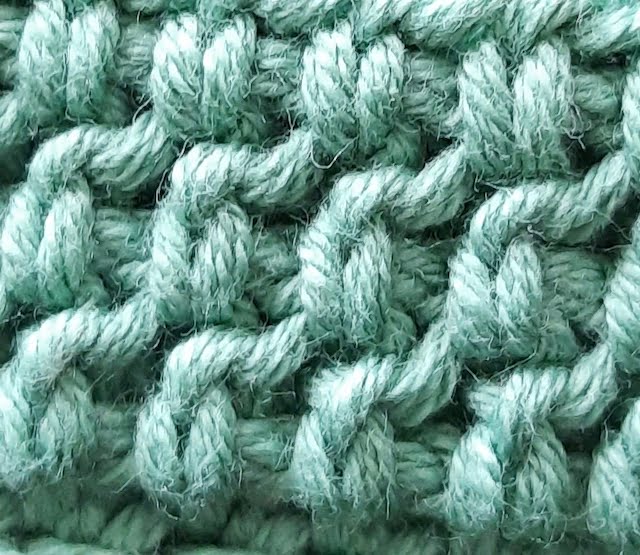
Now complete the stitch as a half double crochet. Here you see the thermal half double crochet along the front.
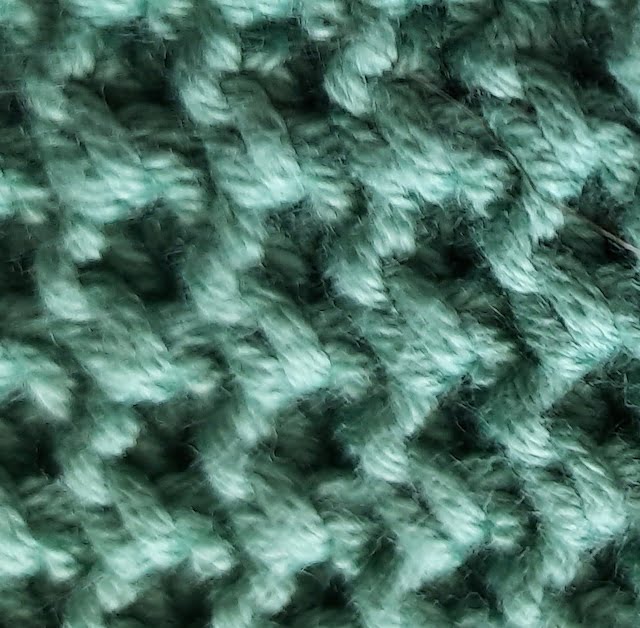
And this is what the thermal half double crochet looks like from the back.
How do you finish crocheting with thermal half double crochets?
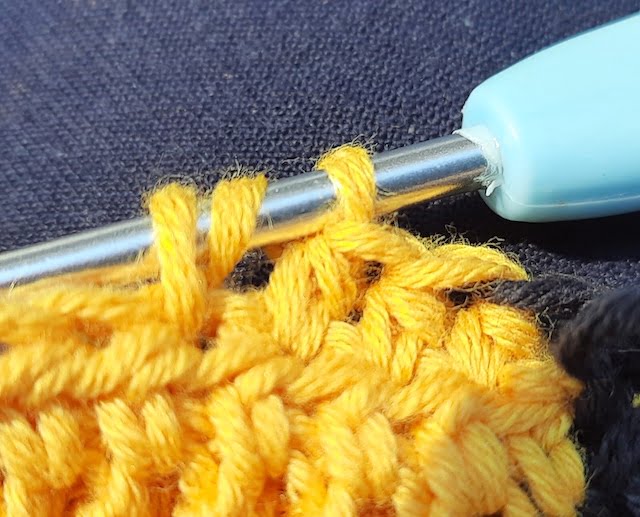
To finish off the thermal half double crochets, we first work another row of half double crochets, only in the back loops. Seen here in the photo.

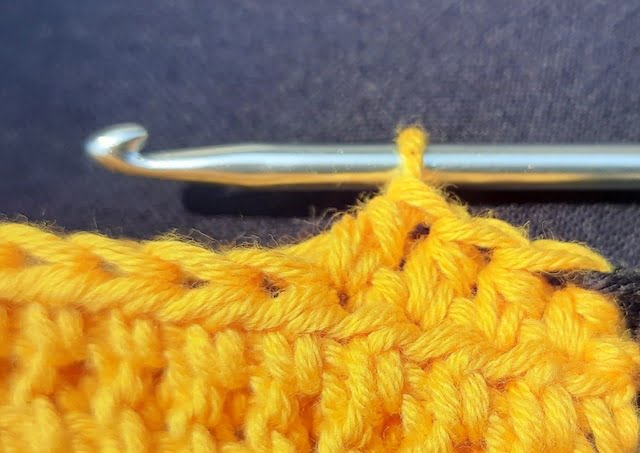
After this row of half double crochets you have 2 open rows as you can see in the photo.
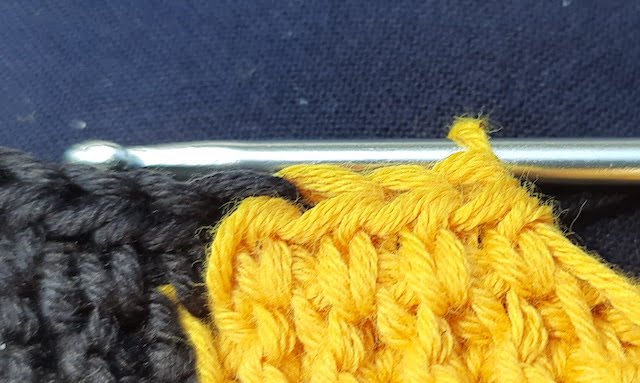
Then you crochet these 2 ‘open’ rows together with single crochets.
(*)There is also the straight thermal half double crochet, for this you take the loop right under the current stitch. The pictures below show the difference.
 |  |
| straight thermal half double crochet | skewed thermal half double crochet |
Gauge
see pattern 2, work 1 square from this pattern 2 as a gauge of 10 cm by 10 cim
Pattern one
Material
- 1 ball drops safran green (the main color)
- 1 ball drops safran white (the secondary color)
- hook pin 3.5 mm (see conversion table for other systems)
Pattern
| row | how to |
|---|---|
| 0 | Start with 47 chains in green |
| 1 | Chain 1 (applies as first half double crochet), then work 21 half double crochets in green, start in 3rd ch. Change with white color and work 3 half double crochets. When crocheting the white, make sure that you also crochet the green thread. (see ‘how do I change color with thermal half double crochets). Now you can continue crocheting with the green from the first block. Now work 22 half double crochets again in green. |
| 2 | Chain 2 (applies as first half double crochet), then work 21 half double crochets in green in the back loop of the previous row of half double crochets. Switch with white and work 3 half double crochets in the back loop of the half double crochets from the previous row. Now continue in green again and work 22 half double crochets in the back loop of the half double crochets from the previous row. |
| 3 | Work 2 chain stitches (count as first half double crochet), then work 21 skewed thermal half double crochets in green. Switch with white and work 3 thermal half double crochets. Switch with the green again and work 22 skewed thermal half double crochets. |
| 4 tot 29 | repeat row 3 |
| 30 | Chain 2, then 21 crooked thermal half double crochets in green. Switch with white and work 3 thermal half double crochets. Swap again with the green 22 skewed thermal half double crochets, but take the white with you when working the green. (see below how to do this in how to change color with thermal half double crochets) |
| 31 | Now switch to white, work 2 chain stitches (applies as first half double crochet). Crochet 46 thermal half double crochets in white |
| 32-34 | Repeat 31 |
| 35 | Chain 2, then 21 skewed thermal half double crochets in green and take the white thread with you. Switch with white and work 3 thermal half double crochets. Swap again with the green 22 skewed thermal half double crochets, but take the white with you when working the green. (see below how to do this in how to change color with thermal half double crochets) |
| 36-64 | Repeat 3 |
| 65 | chain 2, work 46 half double crochets in the back loop of the previous row completely in green |
| 66 | Chain 1 (valid as first single crochet). Crochet 46 single crochets to close the thermal half double crochets. |
| Crochet around the 4 sides with single crochets in white, at the last corner crochet 20 chain stitches, close the chain with a slip stitch. Over these 20 chain stitches work another round with single crochet and finish with a slip stitch! |
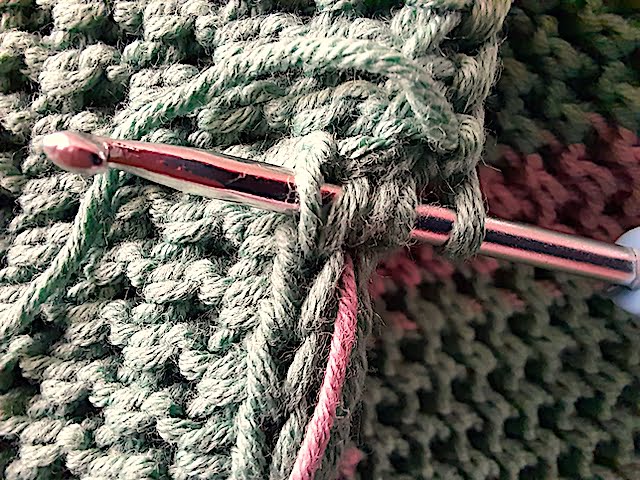
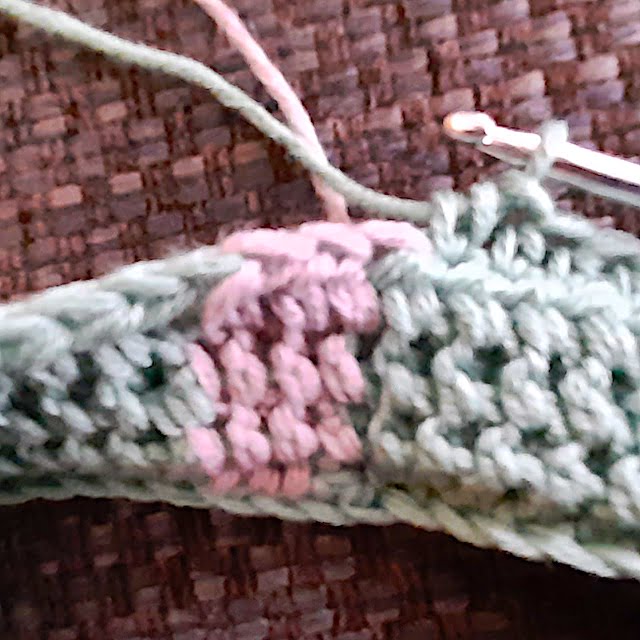
How to change color with the thermal half double crochet?
Changing color with the thermal half double crochet is not that difficult once you see how it can be done. The main thing is to lay the wire in the right place. The photos below show how you can do this.
step 1 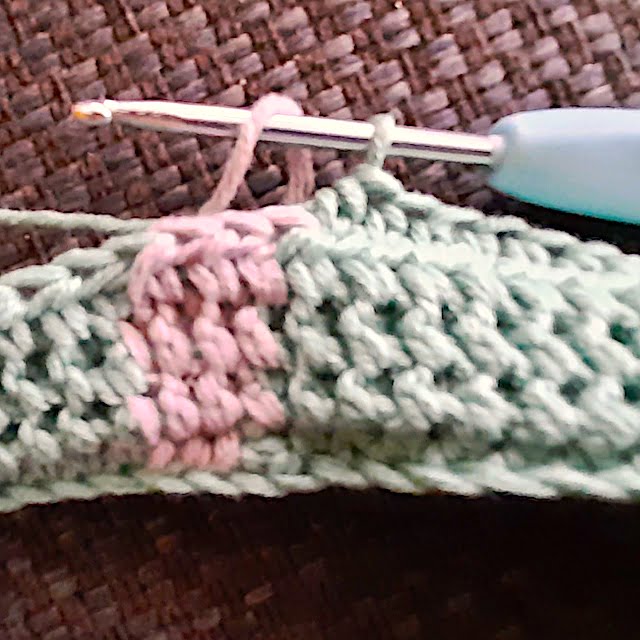
step2 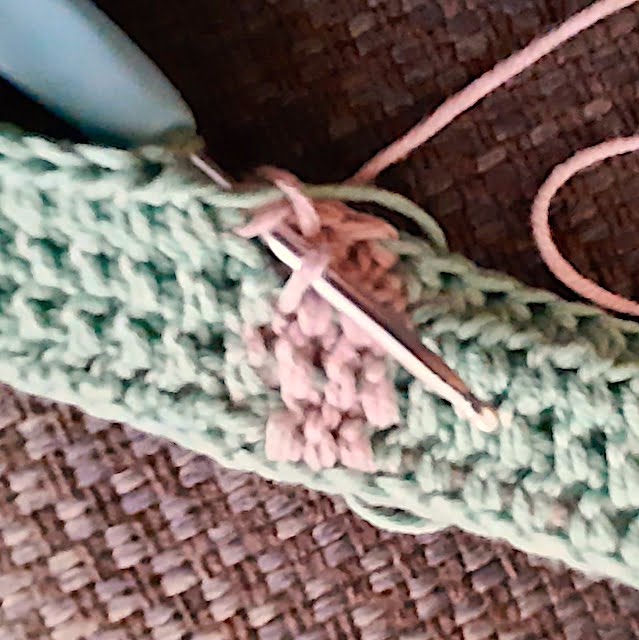
step 3 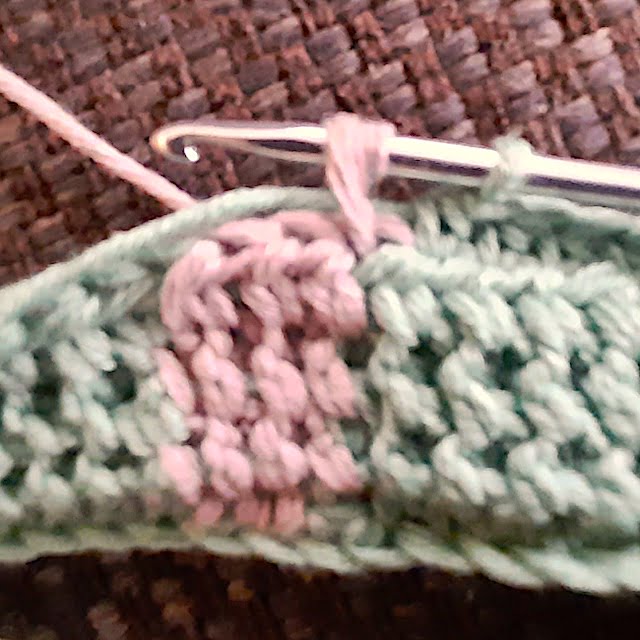
step 4 
step 5 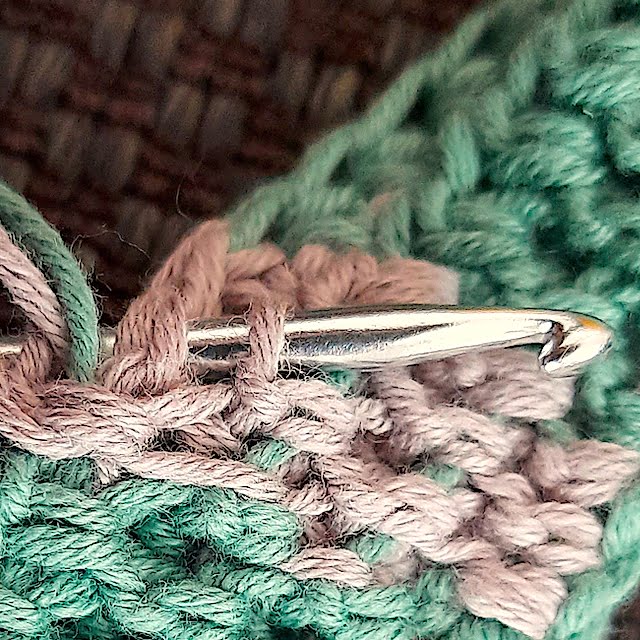
step 6 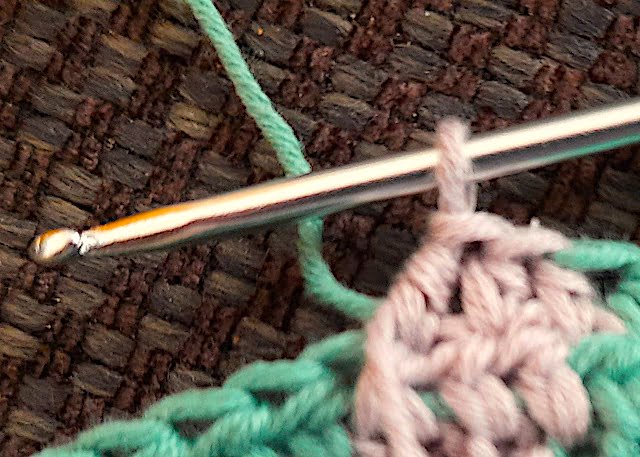
step 7 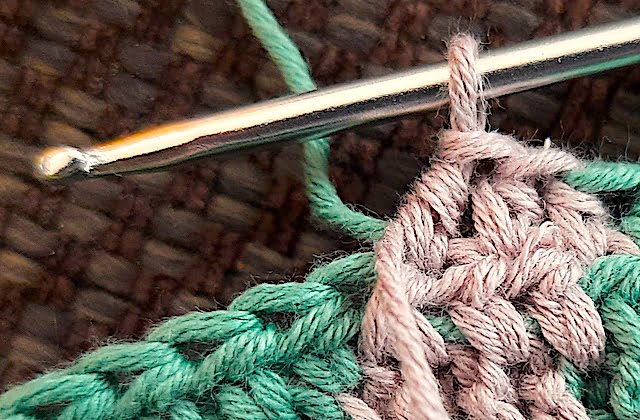
step 8 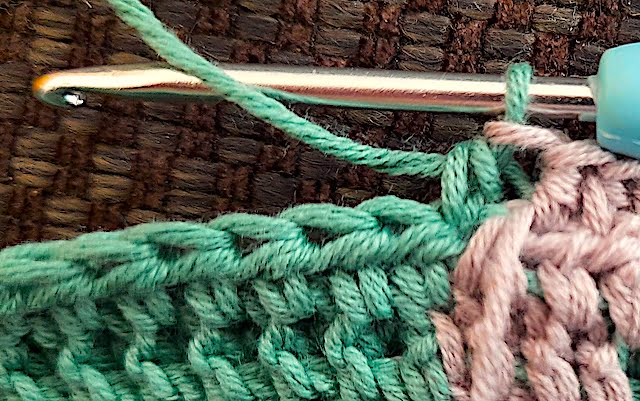
step 9 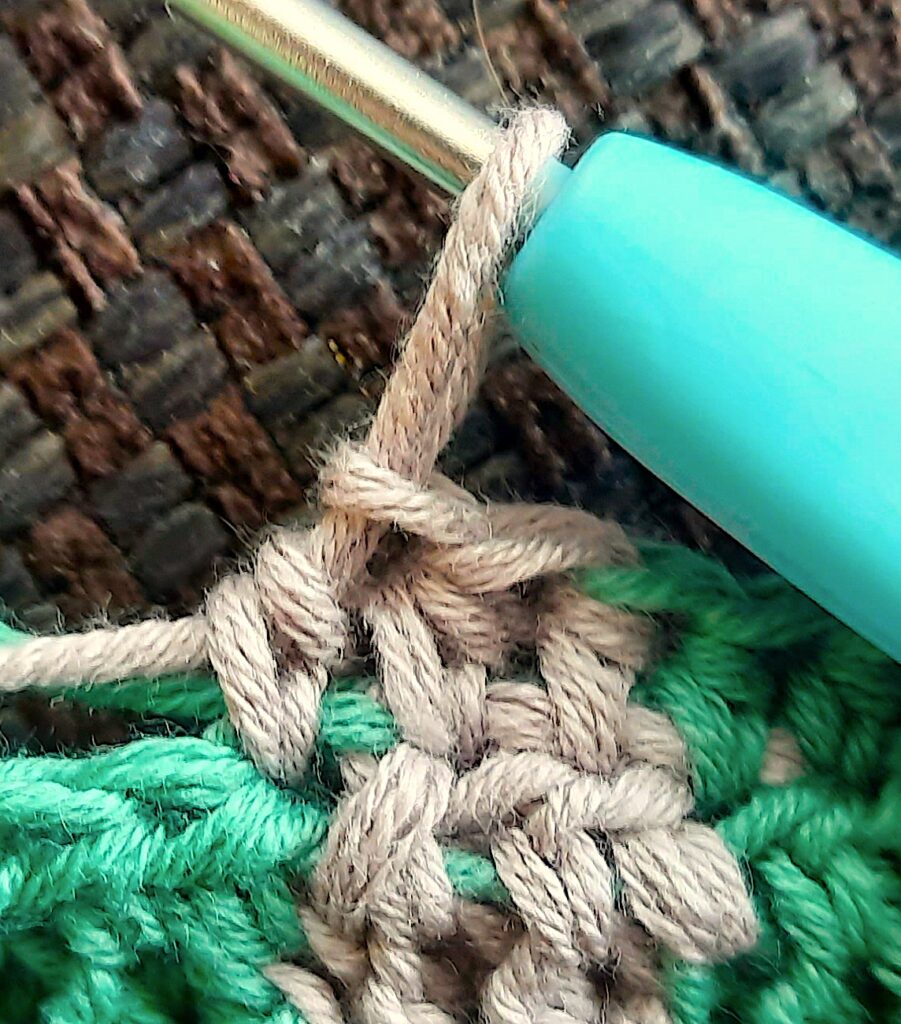
step 10 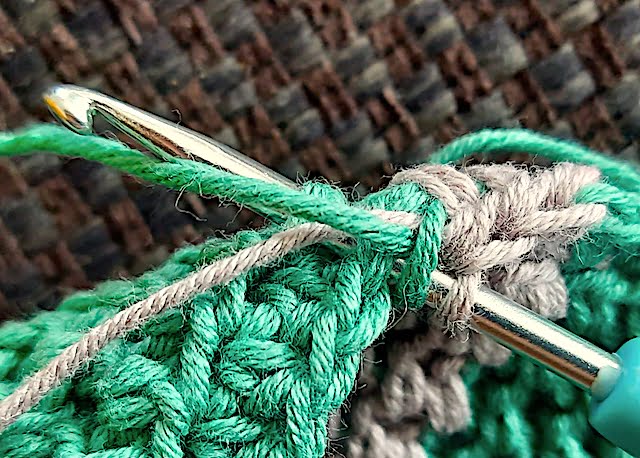
step 11 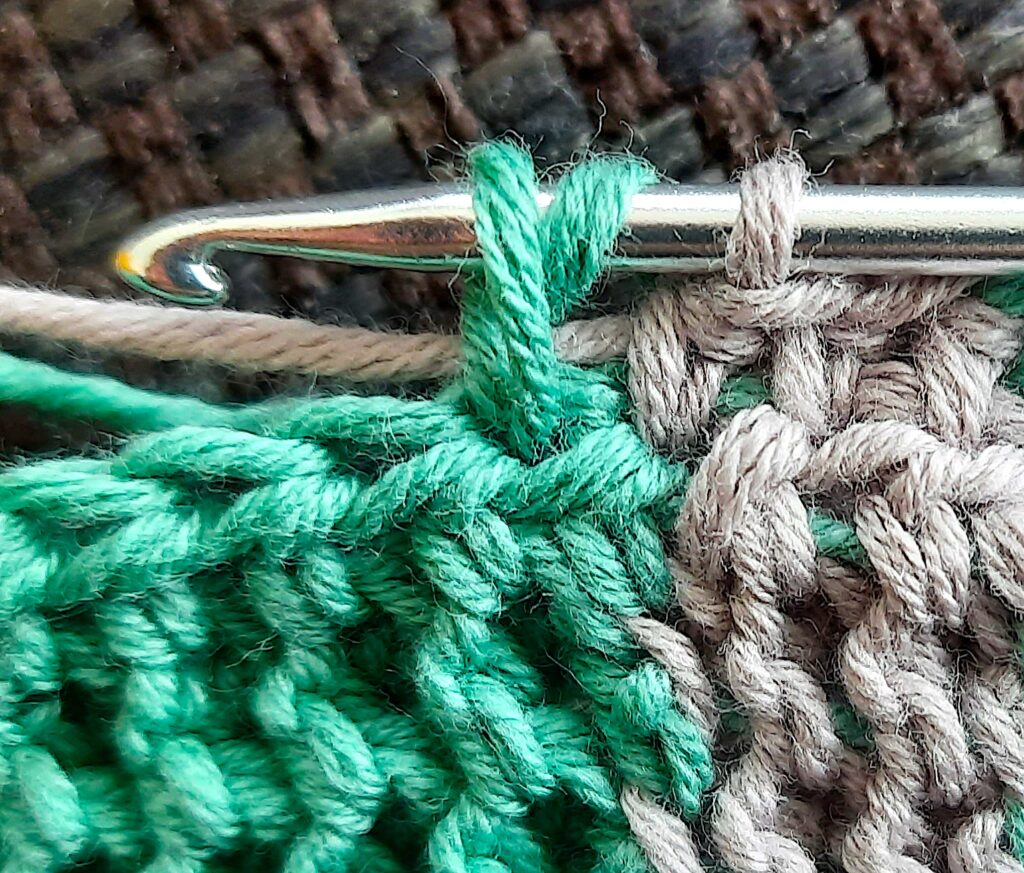
step 12 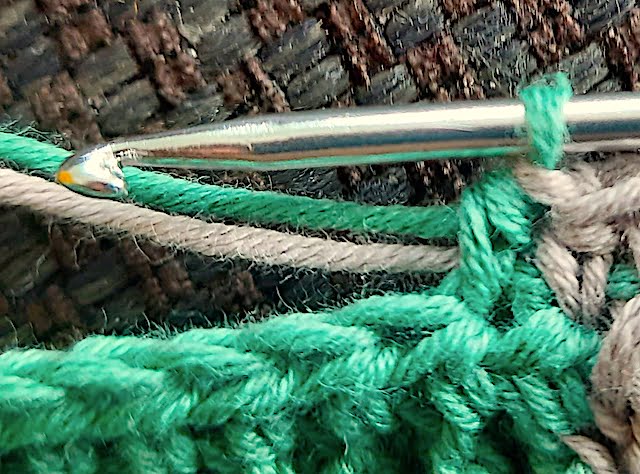
step 13 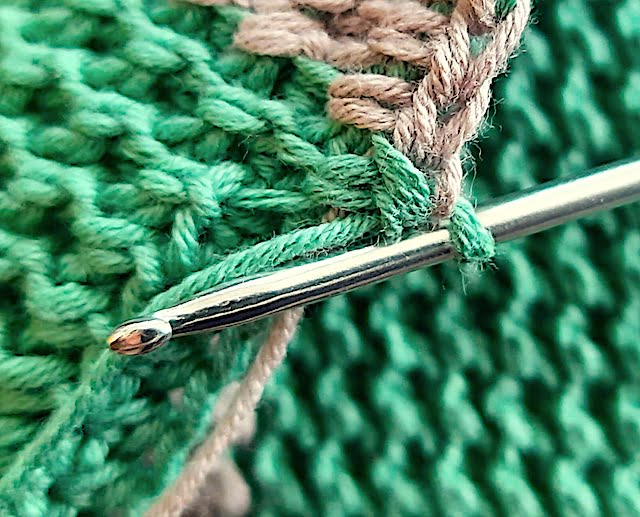
step 14 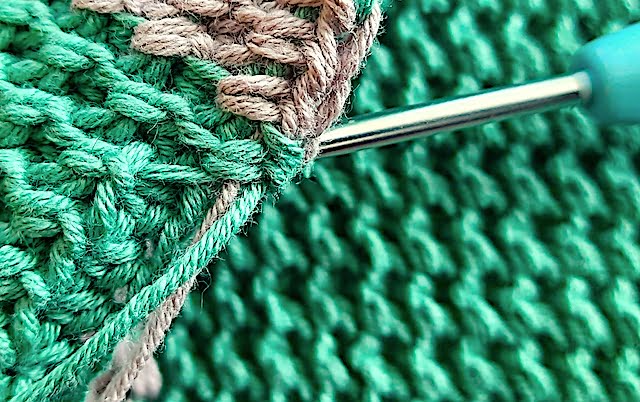
step 15
Pattern two

Material
- 2 balls drops safran in the main color (here green)
- 1 ball drops safranin the secondary color (here white)
- hook pin 3.5 mm (see conversion table for other systems)
Pattern description
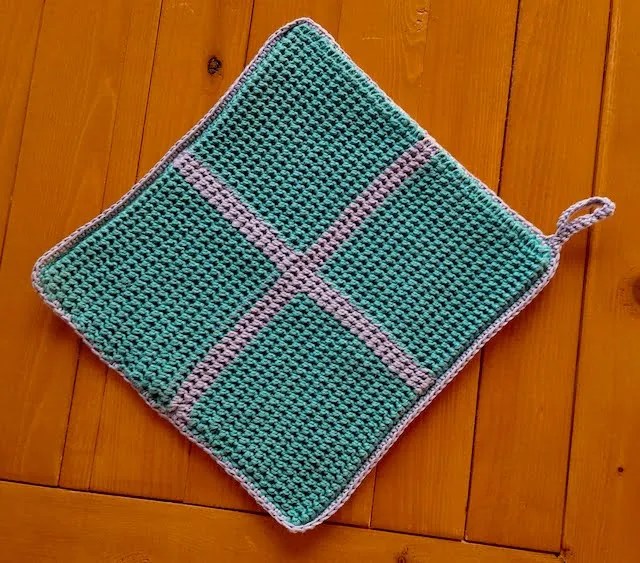
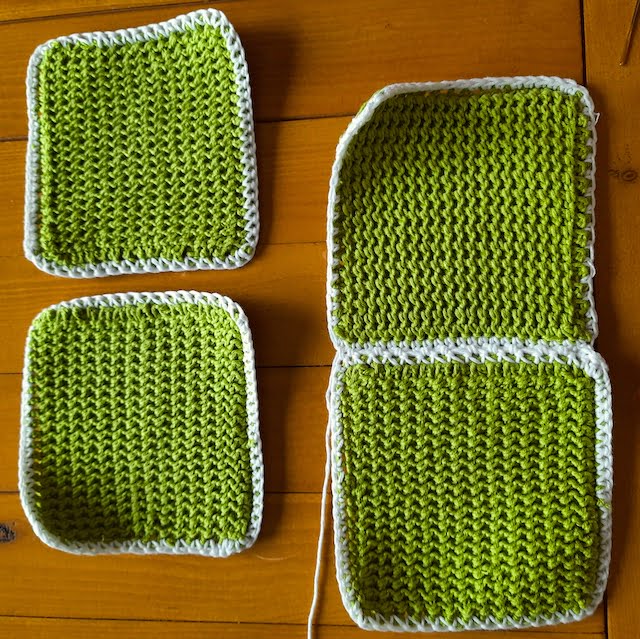
The potholder consists of 4 equal squares. 1 square is crocheted as the table below. Then the 4 particles are hooked together.
| row | how to |
|---|---|
| 0 | starts with 21 chains |
| 1 | chain 2 (counts as 1st half double crochet), then work 21 half double crochets |
| 2 | chain 2 (counts as 1st half double crochet), then work 21 half double crochets in the 2 back loops |
| 3 | chain 2 (counts as 1st stitch), then work 20 skewed thermal half double crochets, work a half double crochet in the first chain stitch of row -2 |
| 4 | repeat row 3 26 more times |
| 29 | chain 2, work 21 half double crochets in the half double crochets of row 2 |
| 30 | chain 1, work 21 single crochets on the half double crochets of row -1 and row -2, you are working the last 2 rows together with single crochets |
| After row 30 work the 4 sides of the square further with single crochets in the 2nd color, this way the squares come into their own better. It’s also ideal for crocheting in ends, so you don’t have to weave them in later! |
The squares each measure approximately 10 cm by 10 cm. Place them neatly next to each other, but the stripes are placed crosswise next to each other. Join the 4 squares with single crochets in white color.
So the potholder is ready to use!
There you go, I hope you have fun with this pattern! You can always ask questions!
xox Greet