
Lees deze post in het Nederlands hier.
Story
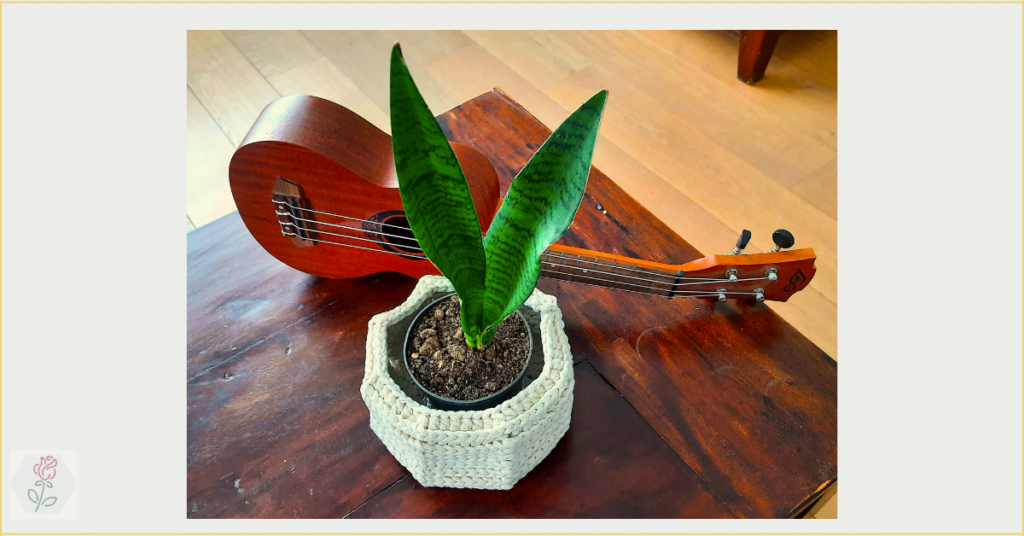
It is spring, good weather, it is time to repot the houseplants. For me this also means looking for larger pots and smaller pots. The larger pots to give the mother plants more space and the smaller ones to grow cuttings in them. This year it is mainly the turn of sansevierias. On this site you will find information on how to best repot and propagate sansevierias.
After a search in the conservatory I found a number of larger and small pots. I need no less than 8 new pots! The pots do not have to be beautiful for me, I crochet beautiful flower pots for them, “cache-pots”, as it is said so beautifully in French, ‘hide the pots’ freely translated into English .
.
The pattern
Stitches used (US – terms)
- magical ring (read how to crochet in this post, there you also get another pattern to crochet nice flower pots!
 )
) - chains
- slip stitch
- single crochets
- half double crochets in the back loop(for explanation and photo how to crochet see section ‘Stitches’ here)
Material
- Java – World of Yarn
- Hook nr 5 (European metrics – for conversion see here)
Gauge
As a test piece you can crochet a circle as follows. Crochet a magic ring with 8 single crochets in the first round. Close the ring with a slip stitch. Crochet 1 chain stitch, which counts as the first single crochet, double this first stitch, then double every single crochet from the previous round with single crochets. Close the ring again with a slip stitch. Then work another chain stitch that counts as the first single crochet of this third round. Now crochet a single crochet, then double the next single crochet, crochet 1 single crochet and then double again, so you always alternate with doubling and not doubling.
In this way you get a circle with a diameter of + – 3 cm.
Tip: use this sample as the basis for the flower pot.
Pattern
The bottom
Crochet a magic ring with 8 single crochets in the first round. Close the ring with a slip stitch. Crochet 1 chain stitch, which counts as the first single crochet, double this first stitch, then double every single crochet from the previous round with single crochets. Close the ring again with a slip stitch. Then work another chain stitch that counts as the first single crochet of this third round. Now crochet a single crochet, then double the next single crochet, crochet 1 single crochet and then double again, so you always alternate with doubling and not doubling.
Below is an informative table for crocheting the bottom
| tour no | how to |
|---|---|
| 1 | magic ring with 8 single crochets, close with a slip stitch |
| 2 | in every single crochet work 2 single crochets, close with a slip stitch |
| 3 | work 1 single crochet in 1 single crochet, then work 2 single crochets in next single crochet *, repeat between * * to end of round, close with a slip stitch |
| 4 | work 1 single crochet in 1 single crochet, work 1 single crochet in next single crochet, then work 2 single crochets in the next single crochet *, repeat between * * to the end of the round, close with a slip stitch |
The coat
| tour no | how to |
|---|---|
| 5 | start with 2 chains, work 2 half double crochets in the next single crochet, work a half double crochet in the next single crochet, crochet a chain stitch work a half double crochet in the next single crochet, work 2 half double crochets in the next single crochet work a half double crochet in the next single crochet, crochet a chain *, repeat between * * to the end of the round close with a slip stitch |
| 6 | start with 2 chains, work 2 half double crochets in the back loop of the next half double crochet, work a half double crochet in the back loop of the next half double crochet, work a half double crochet in the back loop of the next half double crochet, chain 2 work a half double crochet in the back loop of the next half double crochet, work 2 half double crochets in the back loop of the next half double crochet work a half double crochet in the back loop of the next half double crochet, work a half double crochet in the back loop of the next half double crochet, chain 2 *, repeat between * * to the end of the round close with a slip stitch |
| 7 | start with 2 chains, work 2 half double crochets in the back loop of the next half double crochet, work a half double crochet in the back loop of the next half double crochet, work a half double crochet in the back loop of the next half double crochet, work a half double crochet in the back loop of the next half double crochet, chain 2 work a half double crochet in the back loop of the next half double crochet, work 2 half double crochets in the back loop of the next half double crochet work a half double crochet in the back loop of the next half double crochet, work a half double crochet in the back loop of the next half double crochet, work a half double crochet in the back loop of the next half double crochet, chain 2 *, repeat between * * to end of round close with a slip stitch |
| 8 | start with 2 chains, work 5 half double crochets in the back loops of the next 5 half double crochets, chain 2 work 6 half double crochets in the back loop of the next 6 half double crochets, chain 2 *, repeat between * * to end of round close with a slip stitch |
| 9 | repeat row 8 |
| … | |
| x | keep repeating row 8 to the desired height |
| last round | Work around with single crochets (*) in the back loop of the half double crochets, leave the chain stitches, close the round with a slip stitch. By crocheting this last round you can pull the crocheted flowerpot nicely over the edge of the original pot and it stays nicely tucked up. (*) you can also use half double crochets, then the border over the edge of the original flowerpot is a bit wider |
This pattern describes how to crochet a flower pot with a diameter of ca 15 cm. You can easily make this pattern bigger or smaller by making the base circle bigger or smaller. Use the following explanation of how to crochet a circle. Make sure that you always double in the same place, because it is the intention to crochet an 8-corner.
Small variation on this pattern
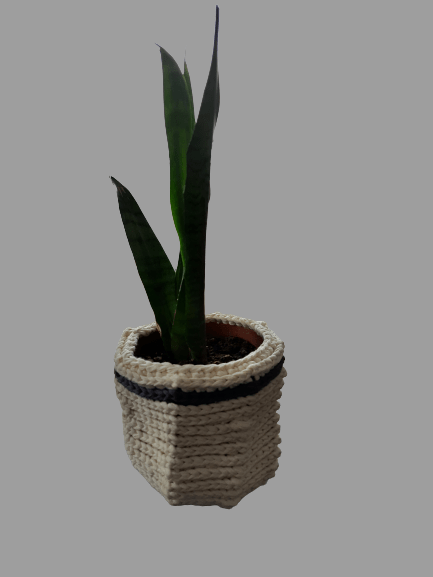
A possible variation on this pattern is to crochet with 2 colors. For example, I made a variation with a black bottom with a border to then switch to the broken white. Another variation is, for example, to crochet the 2nd last row in a different color as you can see in the photo below.
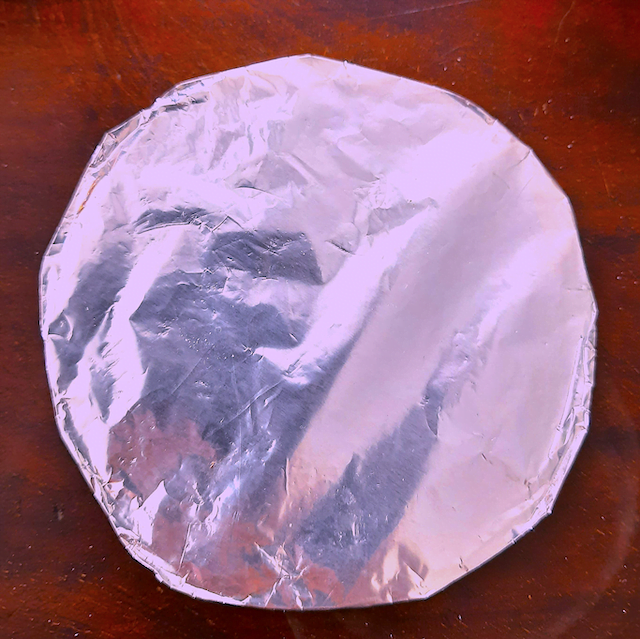
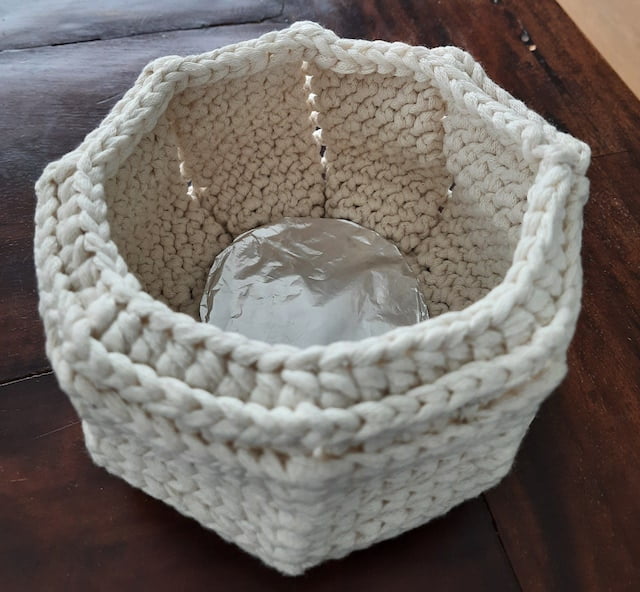
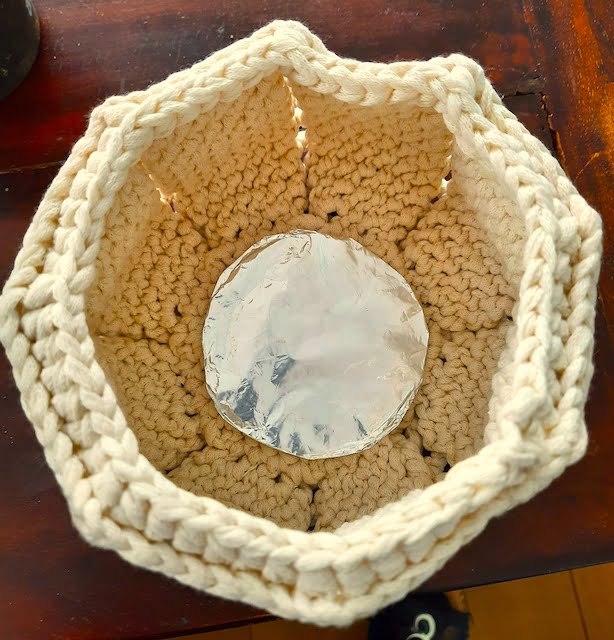
Handy tip to protect against damp stains
You may be wondering how do you keep these crocheted flower pots dry. I have a great solution for that. Cut a circle out of cardboard that is slightly larger than the bottom of your plastic jar. Wrap this cardboard circle with aluminum foil and place it in the crocheted flower pot.
I hope you also enjoy making these flower pots and of course with the result when you are done!
xox Greet
Photo gallery


